
웹 어플리케이션 개발환경
1. JDK 8 설치
2. eclipse 설치
3. Tomcat 설치 및 Eclipse 연동
4. 기본 코드 구성 및 서블릿 생성
📖 정리
1️⃣ JDK 설치
https://www.oracle.com/java/technologies/
Oracle Java Technologies | Oracle
Java Is the Language of Possibilities Java is powering the innovation behind our digital world. Harness this potential with Java resources for student coders, hobbyists, developers, and IT leaders.
www.oracle.com
- 프로그램 다운로드 ( 버전은 상황에 따라서 다르다 )
- JDK 설치
- 환경 변수 설정 ( 윈도우: 시스템 => 고급설정 )
JAVA_HOME=C:\Program Files\Java\jdk-1.8
PATH=%JAVA_HOME%\bin;%PATH%
2️⃣ Eclipse 설치
https://wiki.eclipse.org/Eclipse/Installation
Eclipse/Installation - Eclipsepedia
Installing Eclipse is relatively easy, but does involve a few steps and software from at least two different sources. Eclipse is a Java-based application and, as such, requires a Java Runtime Environment or Java Development Kit (JRE or JDK) in order to ru
wiki.eclipse.org


https://www.eclipse.org/downloads/packages/release/2020-06/r
2020-06 R | Eclipse Packages
444 MB 4,652 DOWNLOADS The Modeling package provides tools and runtimes for building model-based applications. You can use it to graphically design domain models, to leverage those models at design time by creating and editing dynamic instances, to collabo
www.eclipse.org

3️⃣ Tomcat 설치
https://tomcat.apache.org/whichversion.html
Apache Tomcat® - Which Version Do I Want?
Apache Tomcat® is an open source software implementation of a subset of the Jakarta EE (formally Java EE) technologies. Different versions of Apache Tomcat are available for different versions of the specifications. The mapping between the specifications
tomcat.apache.org
버전 확인


두개 다 다운 받은 모습

압축 풀기

새로운 작업 디렉토리 생성
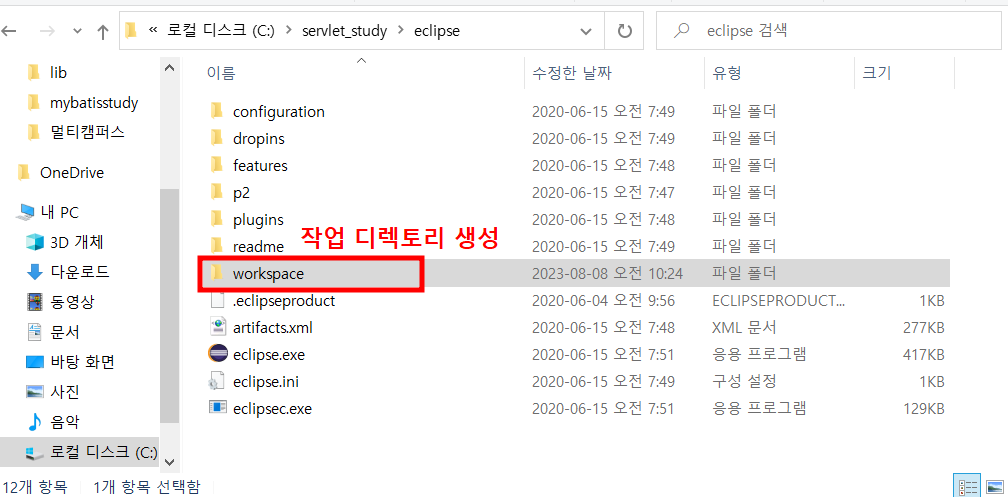
eclipse.exe 실행 후 , 경로 지정

💡 성능이 많이 느려진다면 잠시 중지시켜주고 DB 연동 전에는 다시 실행 시켜주기!

Java EE 확인

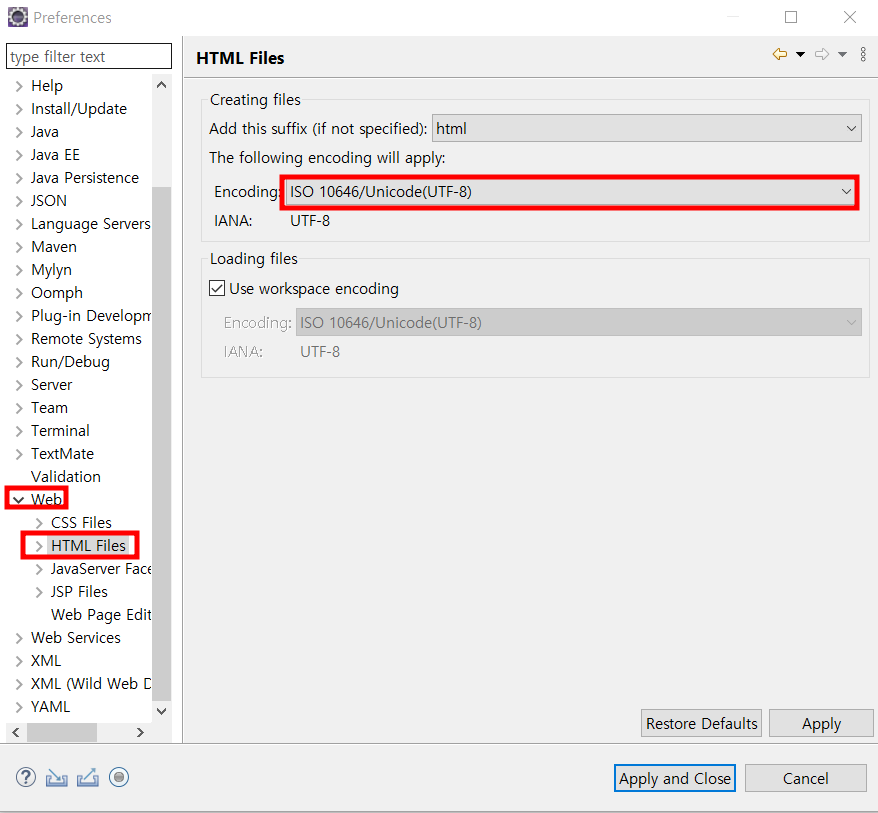
한글 설정


💡 Tomcat 컨테이너
기본포트번호 : 8080 ⇒ 8090으로 변경 (아무거나 가능)
오라클 서버 내에 tomcat이 설치되어있고 8080을 사용하고 있기 때문에
기본포트번호를 변경한다.

브라우저 변경

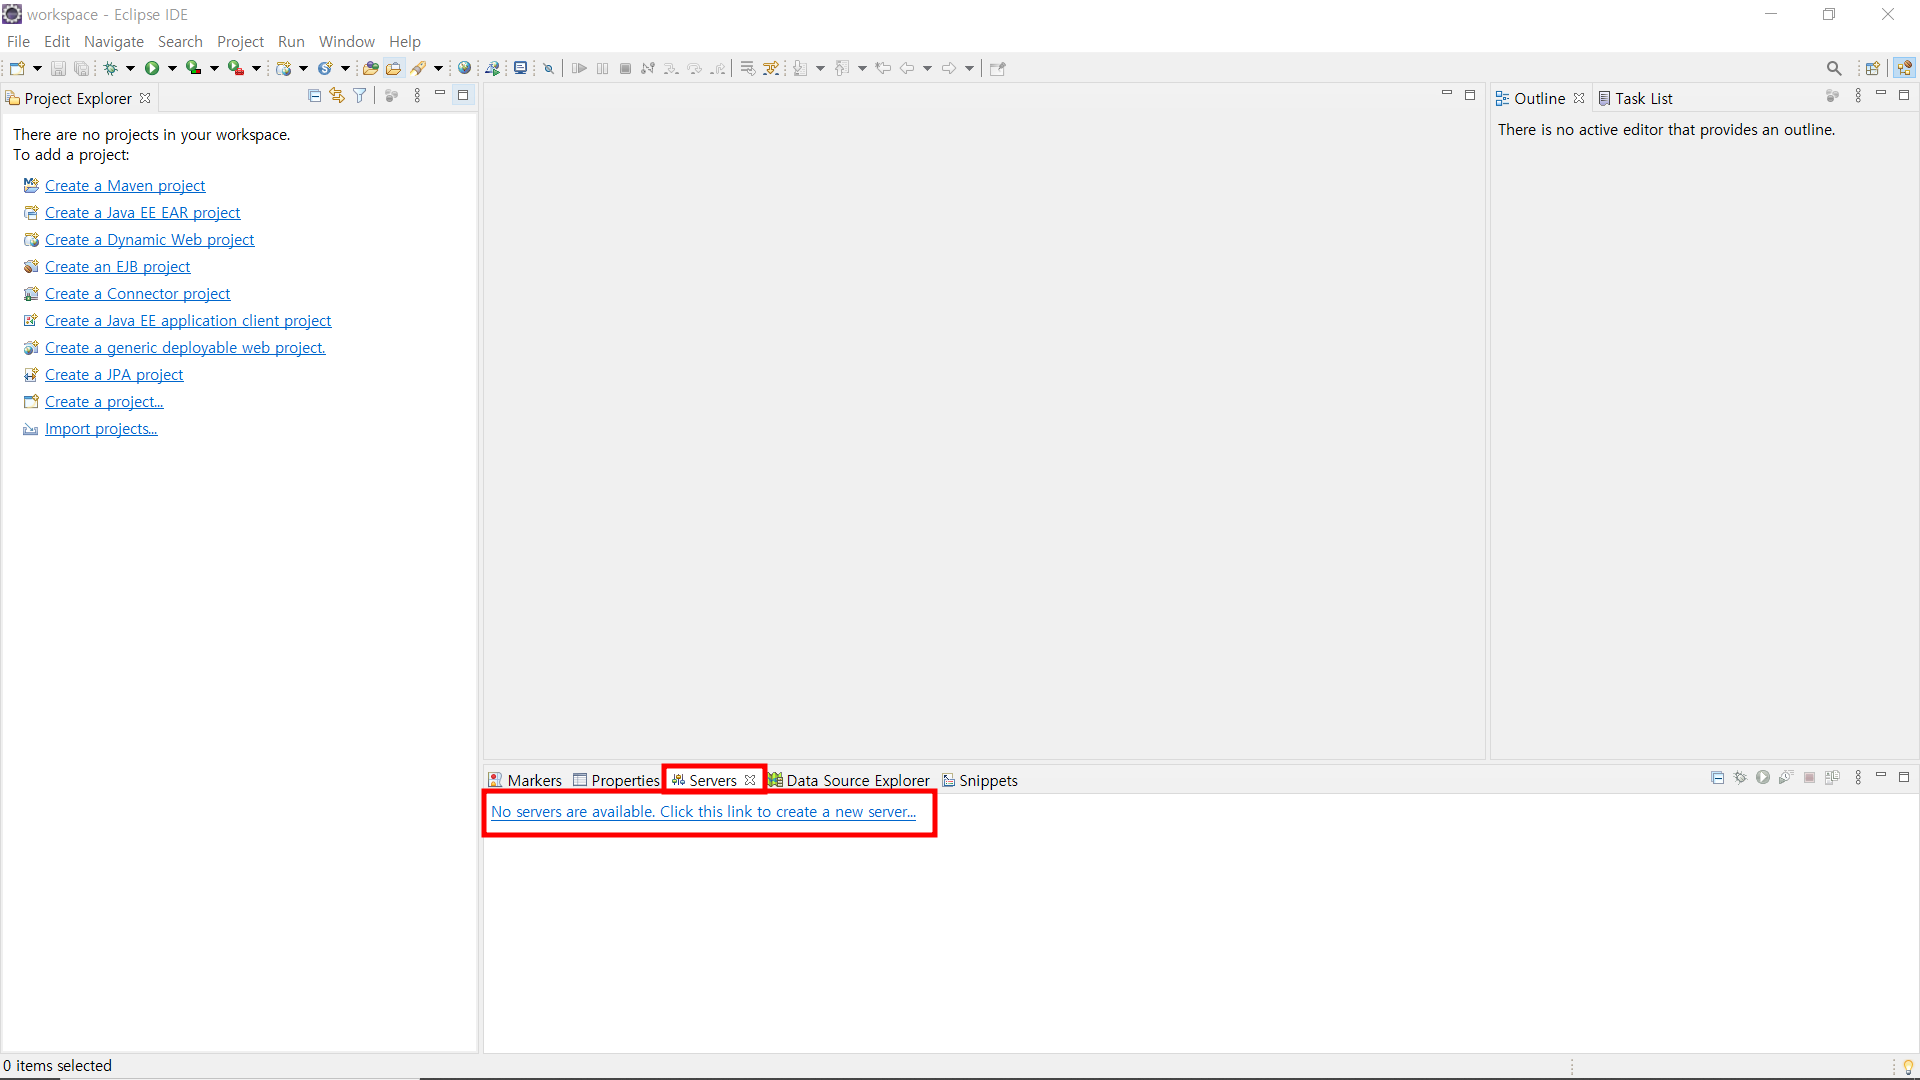
Tomcat 서버 시작 및 종료

요청 http://localhost:8090

4️⃣ 이클립스 프로젝트 ( Dynamic web project 선택 )


✅ Context Root: 물리적인 디렉토리에 대한 논리적인 이름
⇒ 언제든지 변경이 가능
⇒ 기본명은 자동으로 Dynamic web project명으로 지정된다.
⇒ 웹브라우저의 URL에서 사용된다.
⇒ http://서버IP:8090/context명/자원(html,jsp,서블릿 등)✅ Content directory: 이클립스가 인지하는 웹 어플리케이션의 물리적인 디렉토리
⇒ 변경 불가
⇒ WebContent 디렉토리✅ web.xml: 배치지시자 ( deployment descriptor )
⇒ 전체 Dynamic web project의 설정정보 등록
( 어노테이션으로도 가능 )

5️⃣ 생성된 Dynamic web project 구조


HelloWeb
Java Resources
src <=========== *.java 저장
Libraries
Tomcat (servlet-api.jar, jsp-api.jar)
JRE (rt.jar)
WebContent <==== 이클립스가 인지하고 있는 웹 어플리케이션의 물리적인 디렉토리
<==== jsp,html,css,js,image 파일을 저장 ★★★
WEB-INF <==== 웹어플리케이션은 무조건 존재해야 된다.
<==== WEB-INF안에 저장된 파일은 외부에 접근불가
lib <====== 외부 jar 파일 저장 ( ojdbc6_g.jar, mybatis.jar )
web.xml <==== 전체 Dynamic web project의 설정정보 등록
'Programming Language > SERVLET' 카테고리의 다른 글
| 서블릿 (servlet) - ServletConfig vs ServletContext (0) | 2023.08.10 |
|---|---|
| 서블릿 (servlet) - 서블릿의 핵심 기능 (1) | 2023.08.09 |
| 서블릿 (servlet) - 서블릿 lifecycle (0) | 2023.08.09 |
| 서블릿 (servlet) - 특징과 구현방법 (0) | 2023.08.09 |
| Servlet & JSP - 실습 (0) | 2023.08.08 |
웹 어플리케이션 개발환경
1. JDK 8 설치
2. eclipse 설치
3. Tomcat 설치 및 Eclipse 연동
4. 기본 코드 구성 및 서블릿 생성
📖 정리
1️⃣ JDK 설치
https://www.oracle.com/java/technologies/
Oracle Java Technologies | Oracle
Java Is the Language of Possibilities Java is powering the innovation behind our digital world. Harness this potential with Java resources for student coders, hobbyists, developers, and IT leaders.
www.oracle.com
- 프로그램 다운로드 ( 버전은 상황에 따라서 다르다 )
- JDK 설치
- 환경 변수 설정 ( 윈도우: 시스템 => 고급설정 )
JAVA_HOME=C:\Program Files\Java\jdk-1.8
PATH=%JAVA_HOME%\bin;%PATH%
2️⃣ Eclipse 설치
https://wiki.eclipse.org/Eclipse/Installation
Eclipse/Installation - Eclipsepedia
Installing Eclipse is relatively easy, but does involve a few steps and software from at least two different sources. Eclipse is a Java-based application and, as such, requires a Java Runtime Environment or Java Development Kit (JRE or JDK) in order to ru
wiki.eclipse.org
https://www.eclipse.org/downloads/packages/release/2020-06/r
2020-06 R | Eclipse Packages
444 MB 4,652 DOWNLOADS The Modeling package provides tools and runtimes for building model-based applications. You can use it to graphically design domain models, to leverage those models at design time by creating and editing dynamic instances, to collabo
www.eclipse.org
3️⃣ Tomcat 설치
https://tomcat.apache.org/whichversion.html
Apache Tomcat® - Which Version Do I Want?
Apache Tomcat® is an open source software implementation of a subset of the Jakarta EE (formally Java EE) technologies. Different versions of Apache Tomcat are available for different versions of the specifications. The mapping between the specifications
tomcat.apache.org
버전 확인
두개 다 다운 받은 모습
압축 풀기
새로운 작업 디렉토리 생성
eclipse.exe 실행 후 , 경로 지정
💡 성능이 많이 느려진다면 잠시 중지시켜주고 DB 연동 전에는 다시 실행 시켜주기!
Java EE 확인
한글 설정
💡 Tomcat 컨테이너
기본포트번호 : 8080 ⇒ 8090으로 변경 (아무거나 가능)
오라클 서버 내에 tomcat이 설치되어있고 8080을 사용하고 있기 때문에
기본포트번호를 변경한다.
브라우저 변경
Tomcat 서버 시작 및 종료
요청 http://localhost:8090
4️⃣ 이클립스 프로젝트 ( Dynamic web project 선택 )
✅ Context Root: 물리적인 디렉토리에 대한 논리적인 이름
⇒ 언제든지 변경이 가능
⇒ 기본명은 자동으로 Dynamic web project명으로 지정된다.
⇒ 웹브라우저의 URL에서 사용된다.
⇒ http://서버IP:8090/context명/자원(html,jsp,서블릿 등)✅ Content directory: 이클립스가 인지하는 웹 어플리케이션의 물리적인 디렉토리
⇒ 변경 불가
⇒ WebContent 디렉토리✅ web.xml: 배치지시자 ( deployment descriptor )
⇒ 전체 Dynamic web project의 설정정보 등록
( 어노테이션으로도 가능 )
5️⃣ 생성된 Dynamic web project 구조
HelloWeb
Java Resources
src <=========== *.java 저장
Libraries
Tomcat (servlet-api.jar, jsp-api.jar)
JRE (rt.jar)
WebContent <==== 이클립스가 인지하고 있는 웹 어플리케이션의 물리적인 디렉토리
<==== jsp,html,css,js,image 파일을 저장 ★★★
WEB-INF <==== 웹어플리케이션은 무조건 존재해야 된다.
<==== WEB-INF안에 저장된 파일은 외부에 접근불가
lib <====== 외부 jar 파일 저장 ( ojdbc6_g.jar, mybatis.jar )
web.xml <==== 전체 Dynamic web project의 설정정보 등록
'Programming Language > SERVLET' 카테고리의 다른 글
| 서블릿 (servlet) - ServletConfig vs ServletContext (0) | 2023.08.10 |
|---|---|
| 서블릿 (servlet) - 서블릿의 핵심 기능 (1) | 2023.08.09 |
| 서블릿 (servlet) - 서블릿 lifecycle (0) | 2023.08.09 |
| 서블릿 (servlet) - 특징과 구현방법 (0) | 2023.08.09 |
| Servlet & JSP - 실습 (0) | 2023.08.08 |