
1️⃣ node js 설치 https://nodejs.org/
- 다운받은 파일을 실행 → Next → Install → Finish
- 설치 후 터미널 또는 cmd창에 node -v 을 작성하면 설치 버전을 확인할 수 있다.

- node -v : Node.js의 현재 버전을 출력
- ^C : 실행 중인 작업을 취소 또는 종료
- clear : 명령어 히스토리 지우기
2️⃣ Visual Studio Code 설치 https://code.visualstudio.com/
Visual Studio Code - Code Editing. Redefined
Visual Studio Code is a code editor redefined and optimized for building and debugging modern web and cloud applications. Visual Studio Code is free and available on your favorite platform - Linux, macOS, and Windows.
code.visualstudio.com
3️⃣ React를 진행할 폴더 생성
4️⃣ Visual Studio Code에서 폴더를 연결
5️⃣ 상단에 터미널을 실행
6️⃣ 터미널을 사용해서 폴더에 React 생성
- npx create-react-app '만들고 싶은 프로젝트 폴더의 이름'
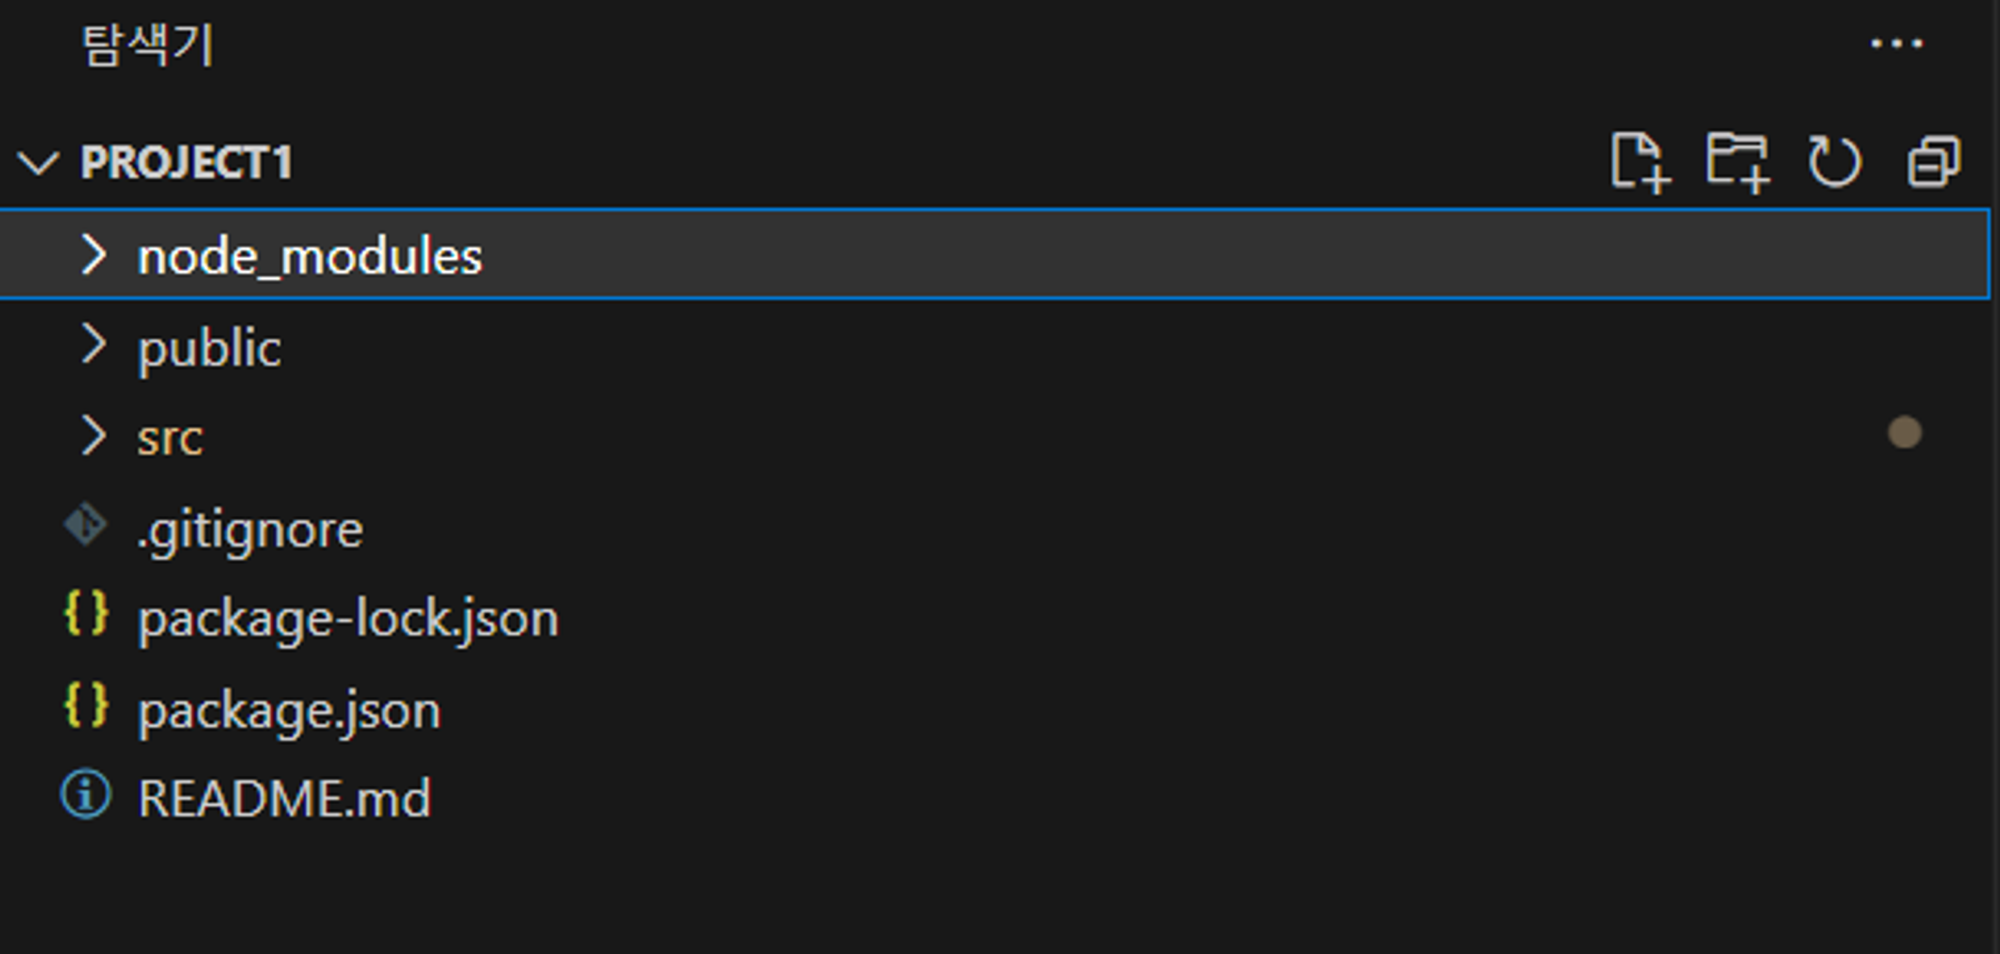
⇒ Visual Studio Code와 연결된 폴더 안에 React로 작업할 프로젝트 폴더를 생성하는 과정. - 이후 Visual Studio Code 탐색기에 해당 폴더가 생성된 것 확인
7️⃣ React가 생성된 파일(프로젝트)을 실행
- cd 프로젝트명 입력하여 디렉토리 이동
- npm start 를 터미널에 입력하면 프로젝트가 실행됨 ⇒ Happy hacking! 이라는 글자가 뜨면 완료된 것
- 웹이 하나 실행된다.

8️⃣ src → App.js 파일의 p태그에 작성된 Edit <code>src/App.js</code> and save to reload. 부분을 수정해보고 웹에서도 잘 변경되는지 확인하면 끝! 😀
'Project 댕린이집' 카테고리의 다른 글
| React의 폴더 구조 (0) | 2023.12.31 |
|---|---|
| React (0) | 2023.12.30 |
| CORS (0) | 2023.12.27 |
| ERD 설계 (0) | 2023.12.23 |
| Repository & Service 초기 작성 (0) | 2023.12.22 |